Boost Your New Bedford Yard’s Privacy and Security: A DIY Fence Installation Guide
Are you a New Bedford homeowner looking to enhance your outdoor space? Building a fence offers both privacy and security while adding curb appeal. This comprehensive guide walks you through the entire DIY fence installation process, from understanding local regulations and choosing the perfect material for your New Bedford yard, to measuring, preparing the ground, assembling, and maintaining your new barrier. Get ready to transform your outdoor oasis!
- Understanding Your Fence Options for New Bedford Yards
- Measuring and Planning for Successful Fence Installation
- Preparing the Ground: Essential Steps Before You Begin
- Step-by-Step Guide to DIY Fence Assembly
- Final Touches and Maintenance Tips for Longevity
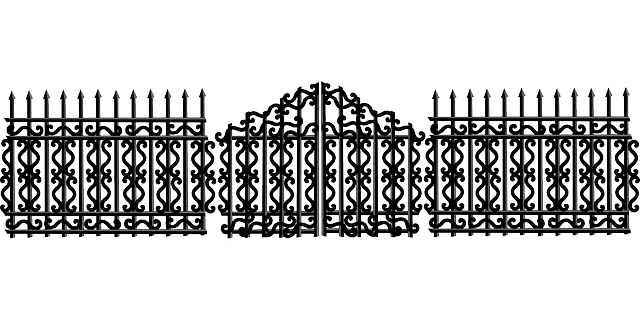
Understanding Your Fence Options for New Bedford Yards
When it comes to fencing your New Bedford, Massachusetts yard, there are numerous options available, each with its own unique benefits and considerations. Start by evaluating your specific needs; privacy, security, or aesthetic appeal? Wood, vinyl, chain link, and iron are common choices for fences in New Bedford yards. Each material has varying lifespans, maintenance requirements, and price points. For instance, wood fences offer natural beauty but necessitate regular staining or sealing to protect against the elements, while vinyl fencing is low-maintenance and durable.
Consider your yard’s layout too. Fences can be tailored to fit narrow spaces or open areas alike. Chain link and iron fences are ideal for large, open yards as they provide unobstructed visibility and minimal maintenance. Conversely, privacy-focused homeowners might opt for wooden or vinyl fences designed with height and solid panels in mind.
Measuring and Planning for Successful Fence Installation
Before you start installing your new fence, take the time to measure and plan your project carefully. First, assess the perimeter of the area where you want the fence to go, making note of any curves or irregular borders. This will help you determine the length of fencing material needed, ensuring a proper fit without excess waste. Once you have that figure, create a detailed layout or sketch of your desired fence design, including any gates or posts you plan to include.
Consider local regulations and property lines when planning. Check with New Bedford’s relevant authorities to understand any restrictions on fence heights or materials, especially if you’re installing a wooden fence near neighbors’ properties. Proper planning will save you time, money, and potential headaches down the line.
Preparing the Ground: Essential Steps Before You Begin
Before installing any fence, preparing the ground is a crucial step. For New Bedford homeowners, this process involves several essential tasks to ensure a sturdy and durable fence. Start by clearing the area of any debris, weeds, or rocks that might interfere with the installation. Use a garden hoe or shovel to dig up the top layer of soil along the intended fence line, removing any grass or plants growing in that section.
Next, level the ground to create a smooth and even surface. This can be done by hand if the area is small, but for larger plots, consider using a motorised leveller or a flat rammer. Ensure the ground is compacted firmly without creating an uneven surface as this could lead to post shifting over time. Proper preparation sets the foundation for a successful fence installation, ensuring your investment stands strong against New Bedford’s weather conditions.
Step-by-Step Guide to DIY Fence Assembly
To assemble your fence, start by unrolling the materials and laying them out on a clear, level area. This will help you visualize the final layout before installation begins. Measure and mark the posts’ locations along the perimeter of your desired fence line, ensuring they are evenly spaced. Next, dig holes for each post using a post-hole digging tool or an electric drill with a hole-digging attachment. The holes should be deep enough to support the fence’s height and width, typically around 3/4 of the post’s length. Once the holes are prepared, place your posts into position, ensuring they stand upright and level. Fill the holes with concrete, allowing it to set completely before proceeding. After the concrete has cured, attach the horizontal rails to the posts using brackets or nails, securing them firmly in place. Then, connect the fence panels to the rails, following the manufacturer’s instructions for proper alignment and fastening.
Final Touches and Maintenance Tips for Longevity
Once your fence is fully installed, it’s time to admire your handiwork! The final touches involve adding any desired decorative elements, like gates or posts with caps. Ensure all hardware is securely fastened and level. Regular maintenance will ensure longevity. Keep an eye out for loose pickets, rusted hardware, or signs of damage from weather or wildlife. Annual cleaning and treatment with a weather-resistant sealant will protect your fence against the harsh New Bedford, Massachusetts climate.