Considering a DIY fence installation? New Bedford, Massachusetts homeowners can enhance their outdoor spaces with a bit of hard work and these expert tips. This comprehensive guide walks you through the process, from preparing your yard for construction to choosing durable fencing materials, planning your layout, gathering essential tools, and assembling your new barrier step-by-step. Discover how to achieve a professional finish and learn valuable maintenance secrets to keep your fence looking its best.
- Prepare Your Yard for Fence Installation
- Choose the Right Fencing Material
- Plan Your Fence Layout and Design
- Tools and Equipment Needed for Installation
- Step-by-Step Guide to DIY Fence Assembly
- Final Touches and Maintenance Tips
Prepare Your Yard for Fence Installation
Before starting your DIY fence installation project, preparing your yard is a crucial step. Begin by clearing the area where the fence will be erected. Remove any debris, such as branches or old vegetation, that might interfere with the process. This includes cutting back overgrown plants and trimming trees to ensure a clear line of sight for measuring and marking.
Next, assess the terrain and make note of any slopes or uneven areas. Leveling the ground is essential for a sturdy fence, so consider grading the yard if necessary. By preparing your yard thoroughly, you’ll create a solid foundation for your new fence, making the installation process much smoother and ensuring long-lasting results.
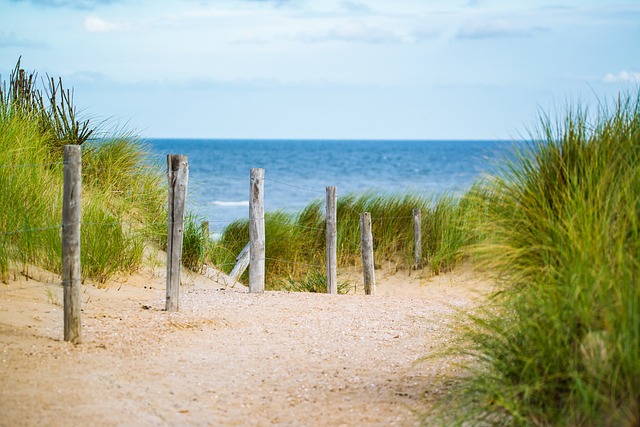
Choose the Right Fencing Material
When it comes to DIY fence installation, selecting the appropriate material is a crucial first step. For New Bedford homeowners, considering local climate and environmental factors is essential. Wood is a popular choice due to its aesthetic appeal and versatility but requires regular maintenance to withstand harsh weather conditions in Massachusetts. Alternatively, vinyl fences are low-maintenance, durable, and resistant to rot, making them an excellent option for those seeking long-term reliability.
The type of fence you choose should also align with your property’s style and your personal preferences. Whether you opt for traditional wooden posts or modern vinyl designs, ensuring the material fits seamlessly with your home’s architecture will enhance the overall curb appeal. Remember, the right fencing material not only complements your home but also serves as a functional boundary, providing privacy and security.
Plan Your Fence Layout and Design
Before breaking ground, take the time to plan your fence layout and design. Consider the purpose of the fence—is it for privacy, security, or decorative reasons? This will influence both the style and materials you choose. Take measurements of the area where you want the fence to go, keeping in mind any local regulations regarding set-backs and permitted heights. Sketch out a rough plan, marking the placement of posts, rails, and panels to ensure your design is functional and aesthetically pleasing.
Think about the visual impact of your fence on your property. Will it complement or contrast with existing structures? Choose colors, textures, and styles that enhance your home’s architecture while aligning with neighborhood aesthetics. Remember to account for any gates or entry points you might need, ensuring they’re incorporated into your design for a seamless look.
Tools and Equipment Needed for Installation
When it comes to DIY fence installation, proper preparation is key. Before you begin, gather all the necessary tools and equipment to ensure a smooth and efficient process. A standard toolkit for this project includes a measuring tape, wood chisel, hammer, level (to ensure your posts are straight), post-hole digger or shovel, and concrete for setting the posts. Additionally, consider having a helper with you, as some tasks require two sets of hands. For longer fences, extend your tool list to include a saw, string line for accurate measurements, and possibly an electric drill with various bits for faster cutting and drilling.
Don’t forget protective gear such as gloves, safety glasses, and ear protection, especially when using power tools. Properly equipped, you’ll be ready to tackle the physical demands of digging post holes, setting posts, and securing fencing materials.
Step-by-Step Guide to DIY Fence Assembly
To tackle DIY fence assembly, start by planning your fence’s layout and measuring the perimeter of the area you want to enclose. Purchase posts, rails, and pickets that fit your design, ensuring they’re suitable for local climate conditions. Gather tools like a post-hole digger, drill, and screwdriver.
Next, mark post locations and dig holes, ensuring they’re deep enough (typically one-third to half the post’s height) for stability. Install posts securely using concrete, letting it set fully. Attach horizontal rails to the posts, followed by pickets, creating your fence’s framework. Regularly check measurements and level as you work for a neat, even finish.
Final Touches and Maintenance Tips
Once your fence is fully installed and all posts are securely in place, it’s time to add the final touches. This includes attaching the rails and pickets, ensuring every piece fits snugly together, and checking for any gaps or loose connections. Regular maintenance will keep your new fence looking its best over the long term. Plan on inspecting it regularly for signs of damage, particularly after harsh weather events. Keep an eye out for loose or rotten boards, as well as any post that appears to have sunk or become unstable. Annual painting or sealing can protect against the elements and extend the life of your fence. Additionally, keeping the area around the fence clear of debris and overhanging branches will help prevent accidental damage and maintain a clean, polished appearance.