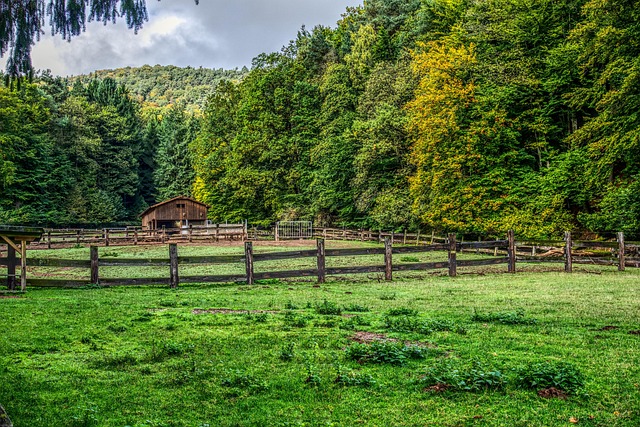
Fences are not just functional; they can enhance a property’s aesthetic appeal. Fence staining and sealing are essential techniques to protect and beautify wooden fences. This guide delves into the intricacies of these processes, offering insights on understanding fence staining, its benefits, and various types. It also provides step-by-step instructions on preparation, choosing the right stain, application techniques, and protective sealing for long-lasting results.
- Understanding Fence Staining: Benefits and Types
- Preparing Your Wooden Fence for Staining
- Choosing the Right Stain: Color and Formula
- Applying Stain: Techniques and Tools
- Sealing for Protection: Steps and Best Practices
Understanding Fence Staining: Benefits and Types
Fence staining is not just about enhancing the aesthetic appeal of your wooden fence; it’s a crucial process that protects the wood from the elements, prolongs its lifespan, and maintains its beauty. By applying a coat of stain, you create a barrier that shields against sunlight, moisture, and UV rays, all of which can cause wood to fade, crack, or rot over time. Regular staining also fills in any pores and cracks, preventing debris and dirt from settling into the wood, thus reducing the need for frequent cleaning.
There are various types of fence stains available, each with its unique benefits. Water-based stains, for instance, offer a low-odor option that’s environmentally friendly and easy to clean up. Oil-based stains, while they may have a stronger odor, provide deep penetration and superior protection against the elements. Semi-transparent and solid colors are also prevalent, offering a range of visual options from subtle enhancement to bold color statements. Understanding your local climate, the type of wood, and your desired level of privacy or aesthetic effect will guide you in choosing the best fence stain for your needs.
Preparing Your Wooden Fence for Staining
Before applying any stain or sealer to your wooden fence, proper preparation is key. Start by inspecting your fence to identify and address any damaged sections. Repair or replace rotten boards and make sure all nails or screws are tight. Cleaning the fence is the next step; use a pressure washer or a brush to remove dirt, mold, and mildew. This ensures that the stain adheres properly.
Once clean, sand the entire surface of the fence gently to create a rough texture. This process helps the stain penetrate deeper into the wood fibers, enhancing the color’s durability. Remove any dust with a wet cloth after sanding, as it can affect the bonding of the subsequent layers.
Choosing the Right Stain: Color and Formula
When it comes to fence staining, selecting the appropriate color is an art. Consider the ambiance you wish to create; a dark stain can make a fence appear more imposing and dramatic, while lighter shades offer a subtle, natural look. Think about your neighborhood’s aesthetic – do you want a fence that blends in or stands out? Popular choices include earthy tones for a classic, natural feel, or bold, vibrant hues for a contemporary touch.
Beyond color, the formula of the stain is key. Water-based stains are environmentally friendly and easy to clean up, but may not offer the same level of durability as oil-based options. Oil-based formulas provide better protection against fading and UV damage, ensuring your fence stays vibrant for longer. Look for a stain with a suitable VOC (Volatile Organic Compound) level if you prioritize indoor air quality.
Applying Stain: Techniques and Tools
Applying stain to your wooden fence is an art that requires precision and the right tools for even coverage. Start by cleaning the fence thoroughly to remove any dirt, dust, or debris. This ensures the stain adheres properly. Next, choose a suitable applicator—a brush, roller, or sprayer—based on your fence’s size and design. For smaller areas, a brush provides precise control, while a roller is efficient for larger surfaces. A sprayer offers an even coat but may be less controlled.
Load the applicator with stain, ensuring it matches your desired color. Begin staining from the top down, applying thin, even coats. Overlapping each stroke slightly helps achieve a consistent finish. For corners and intricate details, use a smaller brush for meticulous control. Allow the first coat to dry before adding a second if needed, letting the stain penetrate the wood evenly.
Sealing for Protection: Steps and Best Practices
Sealing a wooden fence is an essential step to protect it from the elements, ensuring its longevity and maintaining its aesthetic appeal. This process creates a barrier between the wood and potential damage caused by UV rays, rain, snow, and extreme temperatures. When choosing a sealant, opt for high-quality products designed specifically for outdoor use on wood. Water-based sealants are generally safer for both the environment and indoor spaces due to their low odor and quick drying time.
To start, clean the fence thoroughly, removing any dirt, debris, or existing stains. Sanding the surface slightly can help improve adhesion. Apply the sealant in thin, even coats, following the manufacturer’s instructions. Typically, two to three layers are sufficient, allowing each coat to dry completely before applying the next. Start from the top and work your way down, using a clean brush or roller for each section. Regular maintenance, including reapplication every few years, will provide ongoing protection for your wooden fence.